Permission Schemes
Permission Schemes allow you to create flexible, team-based permissions. If these are enabled in your account, you can find them by navigating to Organization -> Permissions.
Enabling Permission Schemes
The first thing to do is to enable Permission Schemes. This is a one-time process, which you will asked to confirm:

When Permission Schemes are enabled, the following will happen:
Only two user roles will be available: Administrator and User
Administrators will have access to all documents in the repository
Users will not have access to any documents in the repository until appropriate Permission Schemes have been created and applied
Existing Doc Type permissions will no longer apply
Existing Single File permissions will no longer apply
Creating Permission Schemes
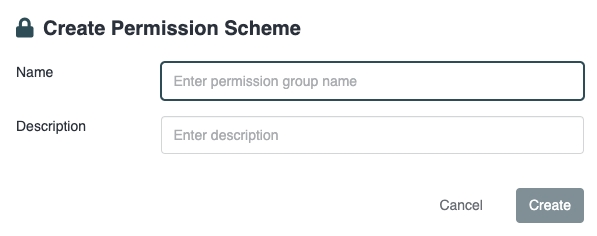
To create a Permission Scheme, click "Create Permission Scheme", and then enter a name and, optionally, a description:
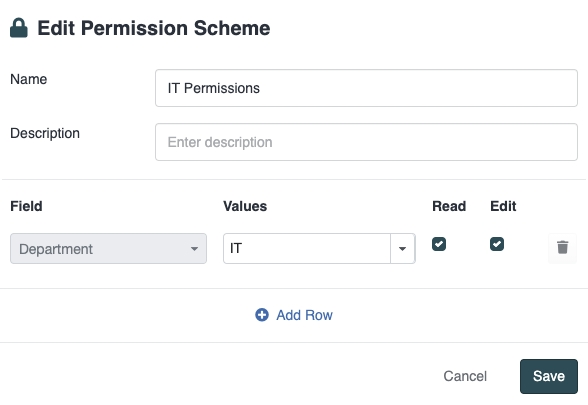
Then, click on Edit and you will see the following modal:
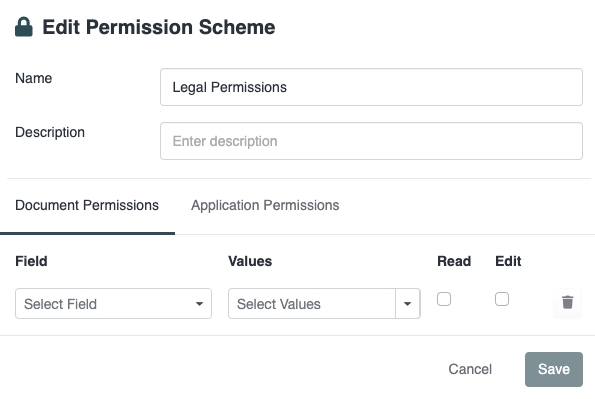
A Permission Scheme allows you to control two types of permissions:
Document Permissions
Application Permissions
Document Permissions
Document Permissions allow you to determine which Teams can access which documents in the Repository. To set Document Permissions, firstly, select the Field that should be used:
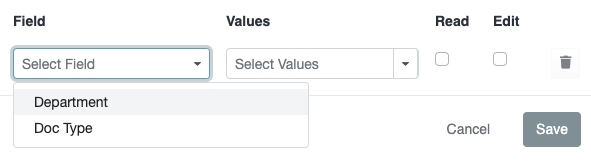
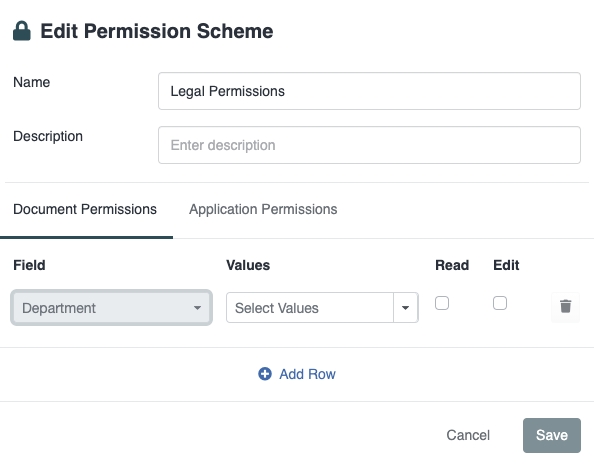
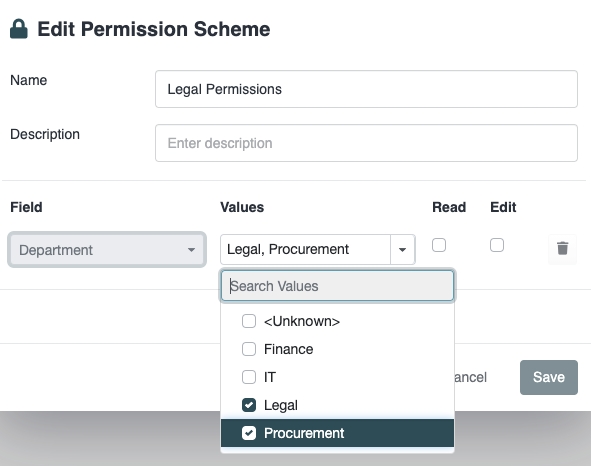
Once chosen, all Document Permissions will be set using that field. In the following example, we have chosen "Department".
Next, select the values that are applicable to the Document Permissions. In the following example, we are applying Document Permissions to any documents where the Department has been set to Legal or Procurement:
Next, select whether the permission should be Read or Edit. In the following example, we are applying Read permissions:
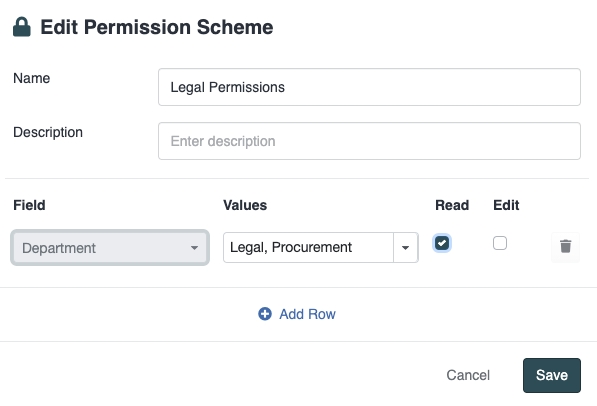
Once you have selected all the relevant parameters, click "Save". It's now time to apply the Permission Scheme to a team.
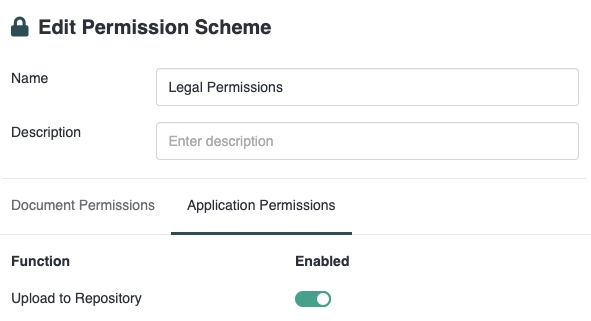
Application Permissions
Application Permissions allow you to determine which Teams can access which parts of the Aerofiler application. In the following example, we are allowing "Upload to Repository" access.
In the next section, you will learn how to apply a Permission Scheme to a team.
Applying Permission Schemes
Navigate to Teams and click the "Edit" icon on the right:

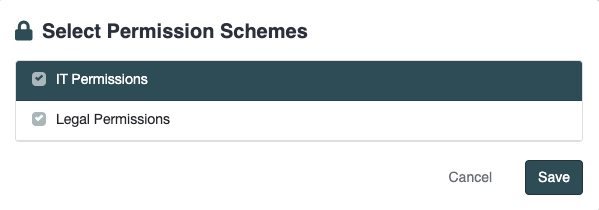
Select the relevant Permission Schemes to apply. In the following example, we are applying the Legal Permissions that we previously defined:
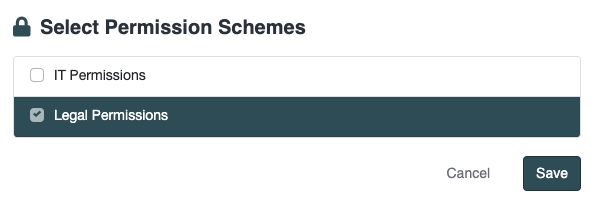
When "Save" is clicked, then users in the Team will have Read access to all documents where the Department has been set to Legal or Procurement. Permission Schemes are additive. For example, if the following Permissions Scheme is defined:
and then following Permission Schemes are applied:
users in the Team will have:
Read access to documents where the Department is Legal
Read access to documents where the Department is Procurement
Edit access to documents where the Department is IT
Single File Permissions
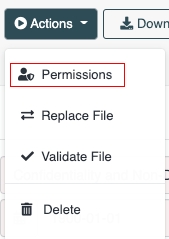
Permission Schemes can also be used for permissions for a single file. In Single File View, when click on Actions -> Permissions:
you will see a modal such as the following:
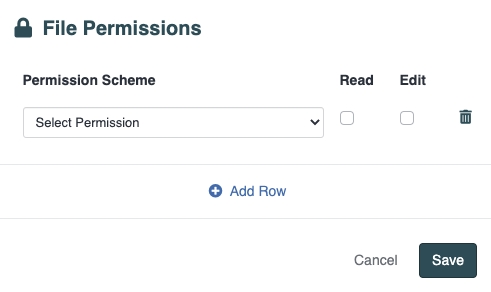
In the following example, we are allowing "IT Permissions" to have Edit (and by implication Read) access to the file, but only allowing "Legal Permissions" to have Read access to the file:

Last updated